Lightning Environment Installation and Setup
TV App Development with Lightning
Let's start this series by answering a big question about this framework:
Why not use HTML + CSS + JS?
See, using these common web technologies is not as efficient as we might expect. In fact, using these technologies can result in our applications overloading CTV devices. A great way to avoid this is by using a tool that employs our devices to their full extent, such as WebGL. This tool helps us overcome performance-related difficulties. It also allows us to:
- Create easy-to-deploy applications because of its cross-platform nature.
- Do automatic memory management and hardware-accelerated 2d and 3d graphics.
- Avoid issues with vendor-specific technology implementation. Looking at you, Safari!
But, WebGL is not the easiest tool to use or understand. Luckily for us, some tools allow us to use most of WebGL's features while using only JavaScript.
Lightning is one of these tools. It's a highly optimized framework that utilizes both CPU and GPU to use all our CTV devices to their fullest. It uses a lot of Object-Oriented Programming concepts at its core. It also has a lot of out-of-the-box tools that help us solve compatibility issues with any CTV platform.
We now understand why we're interested in using Lightning. Let'start by installing everything we'll need to create our first app.
Installing Lightning CLI and creating our first project
The official Lightning docs are divided into roughly 4 different sections:
- Lightning CLI: a Command Line Interface tool used to create and run new Lightning apps.
- Lightning SDK: a set of tools and plugins we can use to develop Lightning apps
- Lightning UI: a set of components commonly found in TV apps.
- Lightning Core: API reference for all the features included in Lightning.
To create our new project, we'll need to install the CLI by using either npm or Yarn. We can do so using the following commands:
npm install -g @lightningjs/cli

# or using yarn
yarn global add @lightningjs/cli
We can then verify that it has been properly installed by using lng -version, which should display a message similar to this:
Lightning-CLI 2.5.1
Let's now create our first project. We can do so by using lng create. The CLI will then guide us through a series of questions about our new project. This was my configuration:
? What is the name of your Lightning App? My First App
? What is the App identifier? (reverse-DNS format) my.first.app
? In what (relative) folder do you want to create the new App? (leave empty to create in current working dir) myFirstLightningApp
? Do you want to enable ESlint? No
? Do you want to install the NPM dependencies now? Yes
? Do you want to initialize an empty GIT repository? No
This command will install all the dependencies our project needs, so it may take some time to finish.
Once this is finished we can open our directory by using cd myFirstLightningApp. Make sure to change myFirstLightningApp to whatever you called your folder. You can now run your app by using lng dev. If everything was done right, you should see the following message:
Starting up http-server, serving ./build
Available on:
  http://127.0.0.1:8080
  http://192.168.1.10:8080
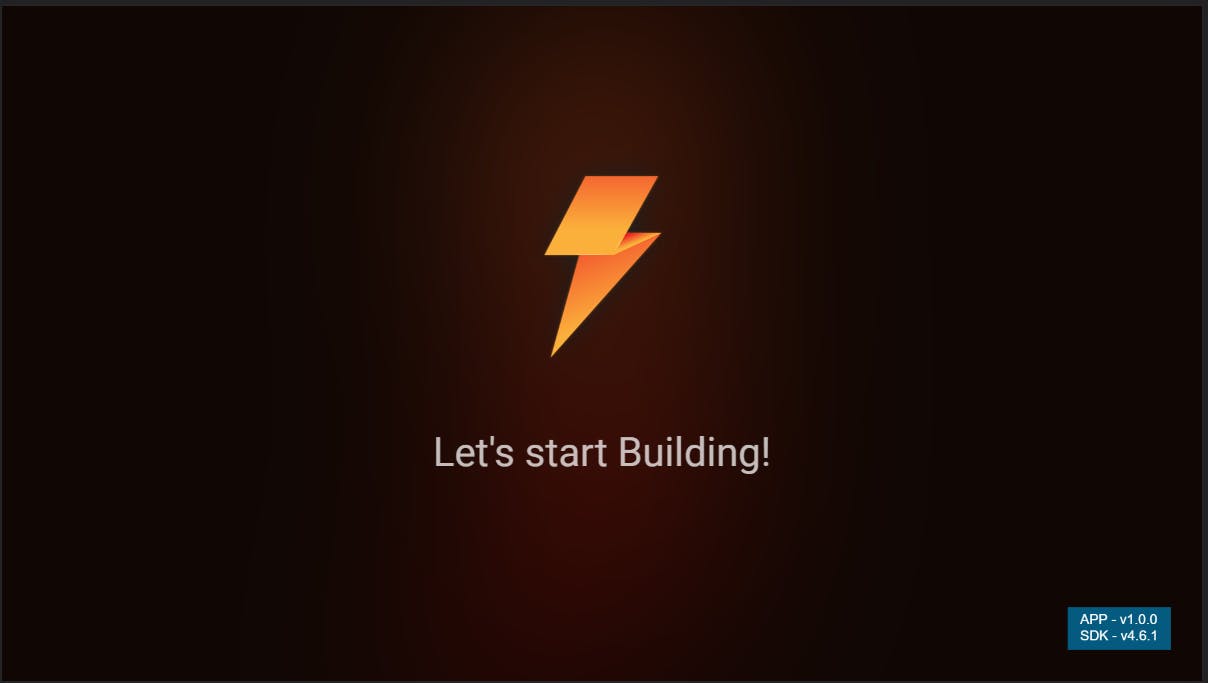
Congratulations! You have now created your first Lightning app. Try opening a web browser and navigating to localhost:8080 to check it out. Your browser should display something like this:

And that's it! Our first Lightning app is ready to be tested using any web browser. Still, it's lacking some things. There are no interactions, no flashy effects, and not much is happening. To do that, we'll start by learning Lightning's most important concepts. We'll do this by configuring and developing more elements in our first app. See you in the next lesson!

